Difference between revisions of "Digital Cinema Content Conversion"
(→Logging in to WSCDCP) |
(→Logging in to WSCDCP) |
||
| Line 14: | Line 14: | ||
== Logging in to WSCDCP == |
== Logging in to WSCDCP == |
||
| − | # From a computer at Filmsoc, open the Windows ''Remote Desktop Connection'' wizard from the start menu. In the computer field, type "192.168.1.36" and click |
+ | # From a computer at Filmsoc, open the Windows ''Remote Desktop Connection'' wizard from the start menu. In the computer field, type "192.168.1.36" and click Connect. <br /> [[Image:01_remote_desktop.PNG|none|frame|Connect remotely to 192.168.1.36|left]] <br /> |
| − | # When prompted, enter the username "wscdcp". The password follows the usual Filmsoc password convention. <br /> [[Image:02_wscdcp_credentials.PNG|none|frame|Connect using username "wscdcp"|left]] <br /> |
+ | # When prompted, enter the username "wscdcp". The password follows the usual Filmsoc password convention. Hit OK. If a window pops up saying "The identity of the remote computer cannot be verified. Do you want to connect anyway?", press Yes. <br /> [[Image:02_wscdcp_credentials.PNG|none|frame|Connect using username "wscdcp"|left]] <br /> |
Revision as of 15:00, 20 January 2014
Contents
Introduction
This is a step-by-step guide for converting a video to a Digital Cinema Package (DCP) which we can play from our digital projection system. The main steps are:
- Log on to the WSCDCP account on 192.168.1.36. All necessary software is installed on this computer.
- Obtain the highest quality copy of the source video you can.
- Set up an appropriate sequence in Premiere Pro, based on the aspect ratio and frame rate of the source video.
- Export the soundtrack as a multi-channel WAV file, after volume correction in Soundbooth.
- Export the picture sequence as JPEG2000 files from Premiere Pro, after any necessary scaling, cropping and masking.
- Combine the sound and picture streams into a DCP using OpenDCP.
- Ingest the finished DCP and ensure it gets tested before use in a playlist. You will need a qualified projectionist to help with testing.
Logging in to WSCDCP
- From a computer at Filmsoc, open the Windows Remote Desktop Connection wizard from the start menu. In the computer field, type "192.168.1.36" and click Connect.
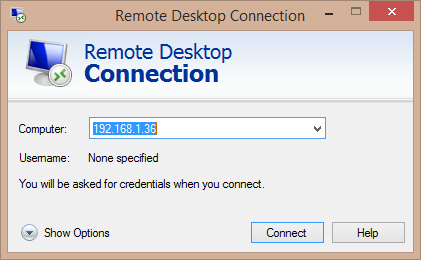 Connect remotely to 192.168.1.36
 - When prompted, enter the username "wscdcp". The password follows the usual Filmsoc password convention. Hit OK. If a window pops up saying "The identity of the remote computer cannot be verified. Do you want to connect anyway?", press Yes.
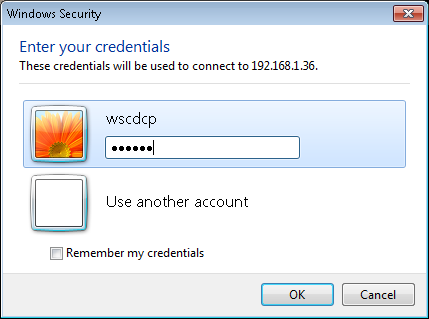 Connect using username "wscdcp"


- Scan University Card

- Type 'AllNighter'

- Choose appropriate ticket

- Complete Transaction

- Mark 'Collected' or 'Collect Later'
Choosing good quality source videos
- Go to 'Collections' on the Main Menu

- Scan University Card

- Collectable Tickets will be listed - those with Green Tickets are selected, those collected have a Red No-Entry sign
- Click Ticket that has been collected - Green Tick will show, the AVAILABLE text does not change yet

- Press 'OK'
- Go to WSC EPOS
- Scan University Card

- Print Appropriate Ticket - these are all free collection tickets
- Please remember to print SU POS Reports when closing tills!
Setting up Premiere sequence
An SU Transaction Number is required. Tickets sold online to be refunded should be done at Warwick SU Reception.
- Check if Ticket Collected (see Collecting Tickets)
- Obtain ticket if already collected
- Go to 'Refund' on the Main Menu

- Scan University Card
- Enter Receipt Number (at bottom of SU Receipts)

- Remove items that are NOT to be refunded
- Complete Transaction